Getting Started with the deck CLI: Create and Check Decktype Presentations from the Terminal
Find the deck CLI installed by Decktype, then create, validate, render, import and export a .deck file from the terminal, step by step.
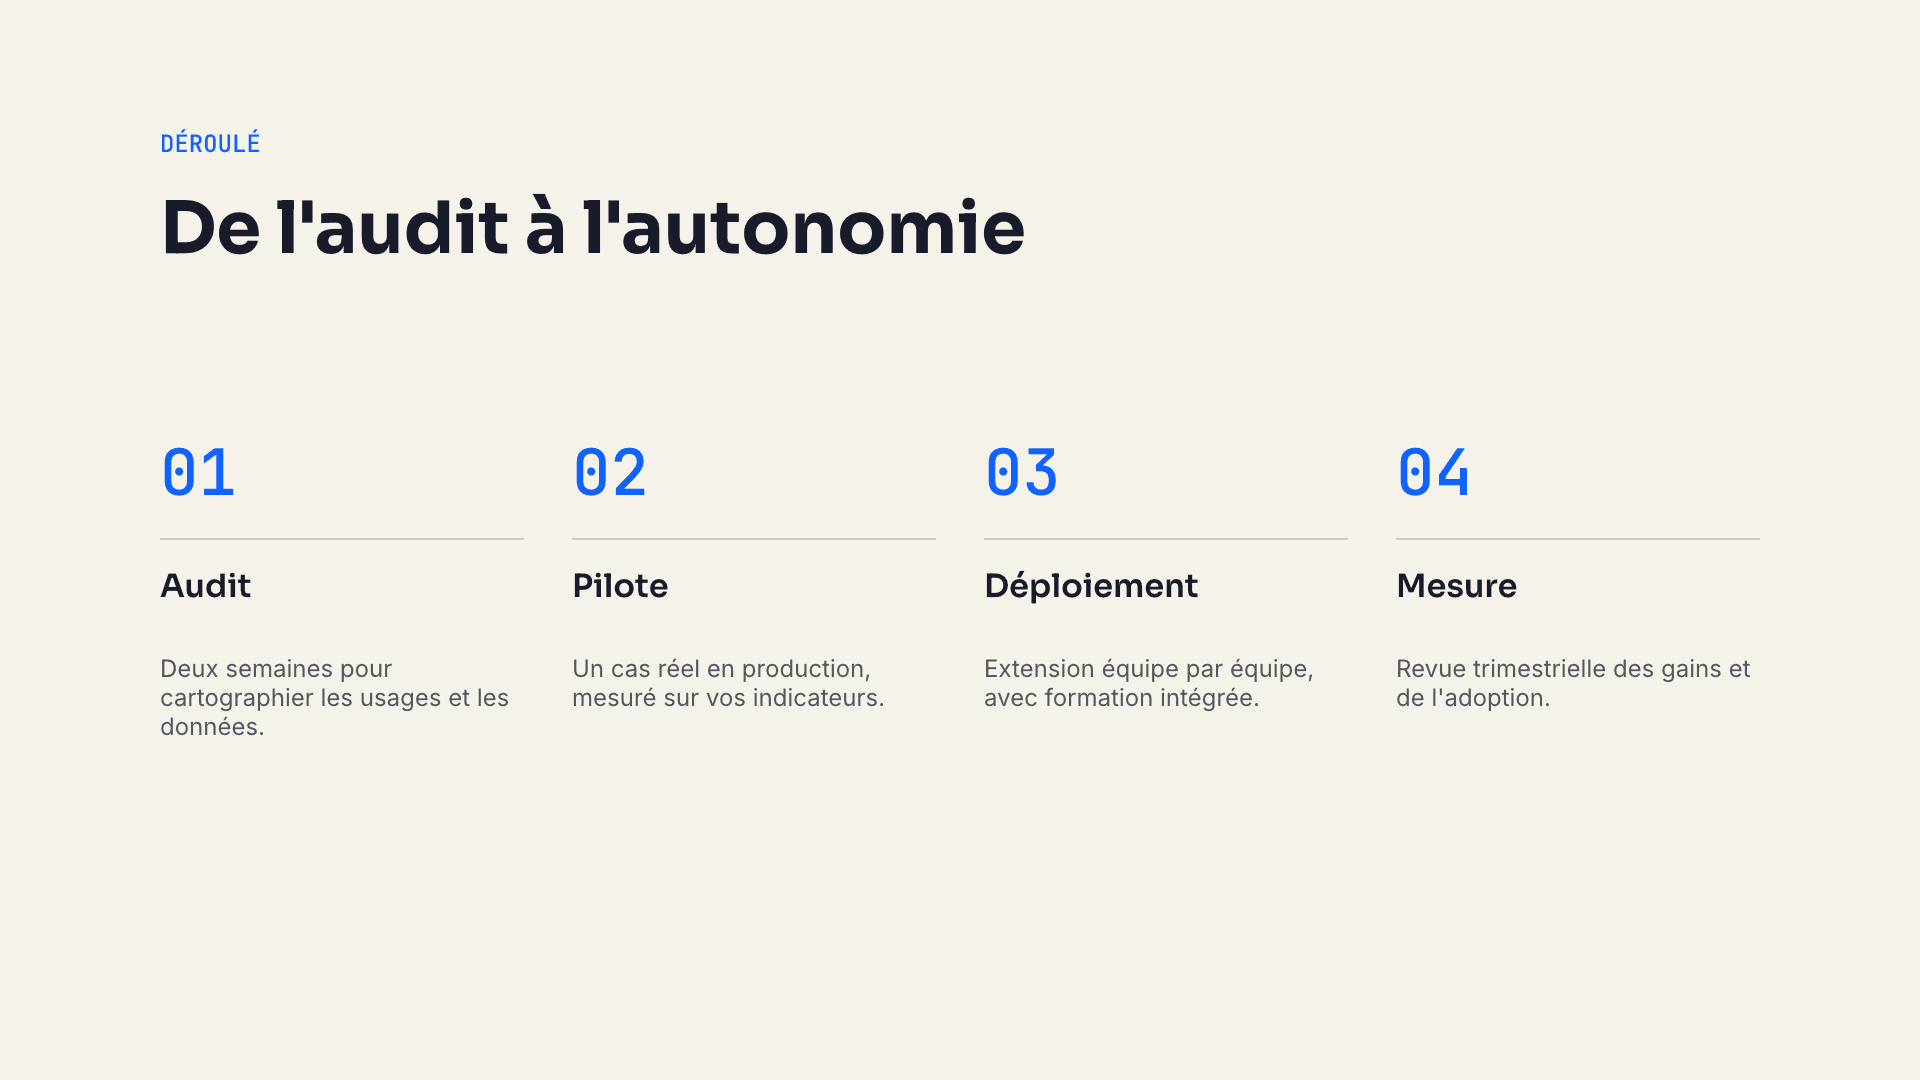
Decktype is a native editor, but the same engine is also available as a command-line tool called deck. It lets you create a .deck file, check its structure, render every slide to PNG, bring in an existing PowerPoint and export a delivery file, all from the terminal.
That matters when you want to script a repeatable step, check a file before sending it, or understand exactly what a coding agent does on your behalf. This tutorial walks through the CLI by hand, one command at a time.
Current availability: Decktype is a native macOS application for Apple silicon, and the
deckCLI is installed by that application. PDF and PNG export are available in the free plan; PowerPoint export requires the Pro plan.
What you will be able to do
By the end of this tutorial, you will know how to:
- find the CLI and make it available in your terminal session;
- list the templates installed on your Mac;
- create a
.deckfile and edit its template content; - validate, materialize and render the presentation;
- inspect an existing deck before changing it;
- import a PowerPoint file and export an approved deck to
.pptx.
1. Install Decktype and locate the CLI
Download Decktype for macOS and open it. In the application menu, choose Connect an agent. That flow makes the deck CLI available on your Mac.
Decktype installs the CLI in a location it owns and does not add it to your PATH:
~/Library/Application Support/Decktype/bin/deck
Add that folder to the PATH of your current terminal session, then check the binary:
export PATH="$HOME/Library/Application Support/Decktype/bin:$PATH"
deck --version
deck --help
If your shell still reports command not found, the CLI is not installed yet. Return to Decktype and run Connect an agent again rather than copying a binary from somewhere else. To make the PATH change permanent, add the export line to your shell profile, such as ~/.zshrc.
2. Discover the installed templates
A Decktype slide is usually built from a template: you pick a layout, then fill its typed slots (a title, a list of steps, a set of cards). Ask the CLI which templates are available:
deck templates list --json
deck templates show standard/process --json
The first command lists every pack installed on your Mac. The standard pack is always there, but it is a floor, not a ceiling: a pack you installed or a theme you activated can add templates designed for your own slides. Read the full list before choosing.
The second command describes one template: its slots, their types, and their bounds. A process slide, for example, expects a title and between two and six ordered steps. deck validate checks those bounds later.
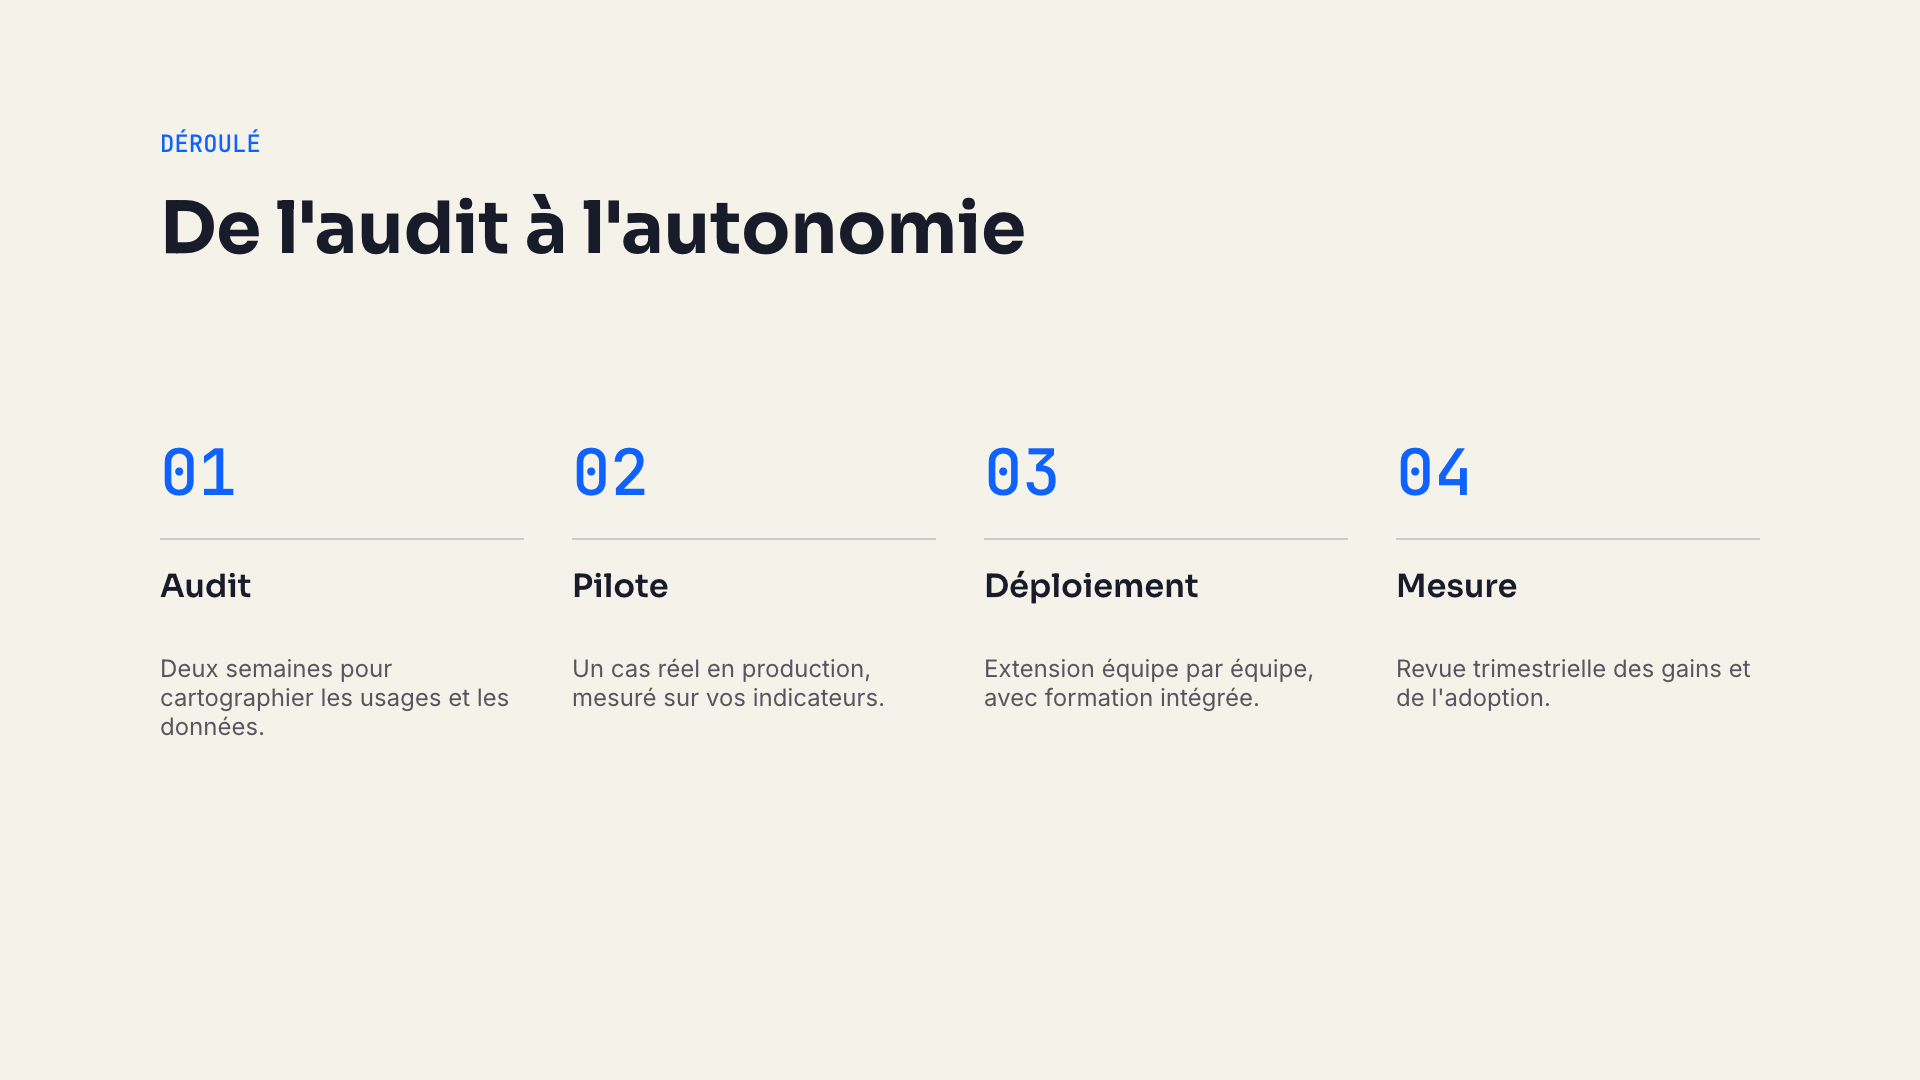
A process slide stores its steps as slot values, so the layout is recalculated when the content changes.
3. Create your first deck
Scaffold a new file in your working folder:
deck new first-deck.deck --title "First deck"
This creates a deck with a single free slide: empty, and not yet bound to any template. The next step binds it to the template you picked in step 2 and fills it.
A .deck file is a zip bundle. Its source of truth is a deck.json file inside the bundle, which describes the active theme, each slide, the template it is bound to and the values of its slots. Extract a working copy from the folder that holds the bundle:
unzip -p first-deck.deck deck.json > deck.json
Then edit deck.json in three moves:
- Start from the skeleton. The output of
deck templates show standard/process --jsonincludes abinding_skeleton: the binding for that template, with every slot present and empty. Copy it intoslides[0].template, the first and only slide of the new deck. Keep the slide'sid,sizeandbackground, and leave itselementsarray empty. - Pin the theme. At the top level of
deck.json,active_theme_idandactive_theme_revision_ididentify the active theme. Copy both values into the binding astheme_idandtheme_revision_id, so the slide keeps the exact theme it was created with. - Fill the slots. The standard pack names its slots in French, so a process slide expects a
titre(title) and a list ofetapes(steps), each with anumero(number), alabeland an optionaldetail. Fill the title and between two and six steps. The unusedeyebrowslot is optional: delete it rather than leave an empty string, which would create an empty element.
The first slide should then look like this, with the two theme identifiers copied from your own file:
{
  "id": "<unchanged slide id>",
  "size": {"w": 1920.0, "h": 1080.0},
  "background": {"color": {"r": 245, "g": 242, "b": 234, "a": 255}},
  "elements": [],
  "notes": null,
  "template": {
    "pack": "standard",
    "id": "process",
    "theme_id": "<value of active_theme_id>",
    "theme_revision_id": "<value of active_theme_revision_id>",
    "slots": {
      "titre": "Our launch plan",
      "etapes": [
        {"numero": "1", "label": "Draft", "detail": "Write the slot values."},
        {"numero": "2", "label": "Check", "detail": "Validate and render."},
        {"numero": "3", "label": "Share", "detail": "Export or send the deck."}
      ]
    }
  }
}
Write the working copy back into the bundle, then delete it:
zip -q first-deck.deck deck.json
rm deck.json
The engine generates the visual elements from the slots at the next step, which is why elements stays empty. Deleting the working copy matters: as soon as the deck is regenerated, that copy is out of date, and zipping it again later would overwrite the fresh bundle. Extract a new copy before every edit.
4. Validate, materialize and look at every slide
Four commands turn a structured file into slides you can trust:
deck validate first-deck.deck --json
deck lint first-deck.deck
deck regenerate first-deck.deck
deck render first-deck.deck --out first-deck-preview
deck validatereports structural errors, such as a missing required slot or a list with too many items. Fix them until it reports zero errors. Read the warnings too.deck lintgives editorial advice: an element outside the canvas or too close to an edge, an empty block, low contrast. It never blocks, and it judges boxes rather than rendered text.deck regeneratematerializes the slides from their slots. Run it after every change, even a one-line edit: opening the file does not regenerate it.deck renderwrites one PNG per slide into the output folder.
Open every PNG before you share the deck. A slot that is too long for its box overflows silently, and neither validation nor linting will catch it. When a slide is too dense, shorten the slot or pick another template, then run the loop again.
5. Inspect a deck before you change it
When a deck already exists, start by reading its state:
deck inspect first-deck.deck --json
The report lists slides, template bindings, slot values and the number of overrides. Overrides are the manual changes someone made in the Decktype editor, such as moving an element or changing its style. When you revise the file from the terminal, change slot values, never the materialized elements of a template-bound slide, and leave existing overrides alone. That separation is what lets a human and an agent keep working on the same file; the human and AI round trip explains it in more detail.
6. Import an existing PowerPoint
To bring in a presentation you already have:
deck import source.pptx
This creates source.deck next to the original file and refuses to overwrite an existing one. Use --out to choose the target and --json to get the detailed report. Read every warning in that report: it lists the elements that were not carried over and the styles that were flattened.
Imported slides are free slides, without template bindings. You can edit them in Decktype, or rebuild the key slides with templates so they can be revised through slots later. Then run the usual validate, render and review loop.
Decktype does not read Keynote's .key format. From Keynote, choose File > Export To > PowerPoint first, then import the .pptx.
7. Export the approved deck
Keep the .deck as your editable source and generate the delivery file when the deck is approved:
deck export first-deck.deck --out first-deck.pptx
PowerPoint export requires the Pro plan. Open the exported file in the exact PowerPoint or Keynote version your recipient uses and check fonts, charts and complex positioning; the PowerPoint and Keynote export checklist lists what to look at.
Cheat sheet
| Command | Use it to |
|---|---|
deck --version |
Check that the CLI is available. |
deck templates list --json |
List every installed template pack. |
deck templates show <pack>/<id> --json |
Read a template's slots and bounds. |
deck new <file>.deck --title "…" |
Scaffold a new deck. |
deck validate <file>.deck --json |
Report structural errors and warnings. |
deck lint <file>.deck |
Get editorial advice on the layout. |
deck regenerate <file>.deck |
Materialize slides after any change. |
deck render <file>.deck --out <folder> |
Render one PNG per slide. |
deck inspect <file>.deck --json |
Read slides, bindings and overrides. |
deck import <file>.pptx |
Create a .deck from a PowerPoint file. |
deck export <file>.deck --out <file>.pptx |
Export a PowerPoint delivery file (Pro). |
Go further with a coding agent
The CLI is also what Claude Code or Codex use when they build a Decktype presentation for you. To authorize an agent, follow the agent connection guide. For a complete workflow, from a written brief to an exported PowerPoint, read Claude Code PowerPoint: build editable presentations with Decktype.
FAQ
Do I need a subscription to use the CLI?
The CLI comes with the Decktype application. Creating, validating and rendering a deck locally, importing a PowerPoint file and exporting to PDF or PNG are part of the free plan. Exporting to .pptx requires the Pro plan.
Does the CLI work without the application?
The CLI is installed by Decktype, so you need the application at least once to install it. The file you produce is meant to be opened and finished in the Decktype editor.
Why does my terminal say deck: command not found?
Decktype does not add the CLI to your PATH. Run the export PATH=… line from step 1 in your session. If the command is still missing, run Connect an agent again from the Decktype menu.
Is there a CLI for Windows or Linux?
No. The current Decktype application and its CLI target Apple silicon Macs. An exported PowerPoint file can still be opened on other systems.
Does my deck stay on my Mac?
The .deck file is a local file: it stays where you saved it unless you move, share or publish it. If you ask an AI agent to work on it, the content you give that agent follows the provider's own terms. Review the Decktype security boundary before using confidential material.
Try it on a real deck
Download Decktype, run Connect an agent, and repeat these steps on a presentation you actually need. Once the validate, regenerate and render loop feels natural, you can script it or hand it to an agent with confidence about what it does.